Patient Portal & Integrations
Genkō lets practices open a self-service booking portal and connect operational tools such as Google Calendar. This is the fastest way to reduce manual scheduling work without giving up control over availability.
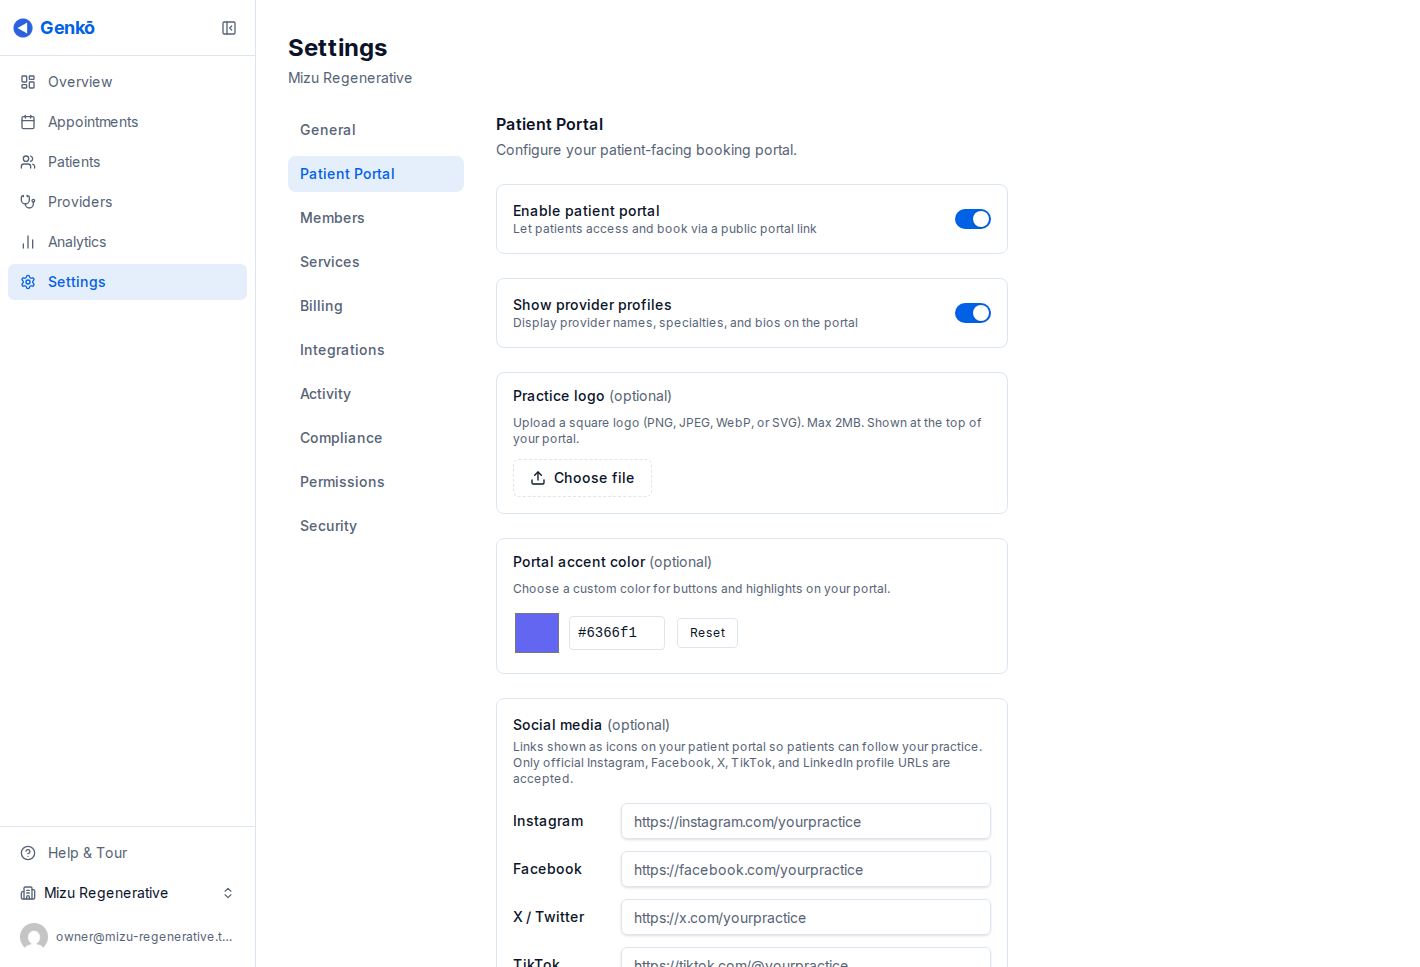
Enable the patient portal
Go to Settings → Portal and turn on Enable Patient Portal.
Once enabled, your practice gets a public booking link based on your organization slug. Share it anywhere patients already interact with you:
- Website
- Email signature
- Confirmation emails
- Intake or referral workflows
Before you publish the link, make sure your services and provider schedules are accurate.
How self-booking works
Patients follow a simple flow:
- Browse available services and provider options
- Pick a service, provider, date, and time
- Enter their contact details
- Receive a confirmation email
Bookings appear in your calendar immediately.
If the email address already matches an existing patient, Genkō links the booking to that record. Otherwise, it creates a new patient automatically.
Why practices use the portal
The portal helps by:
- Reducing back-and-forth for routine booking
- Showing only valid slots based on provider schedules and booking rules
- Creating cleaner patient records through consistent intake details
It works best when service names are clear and provider availability is current.
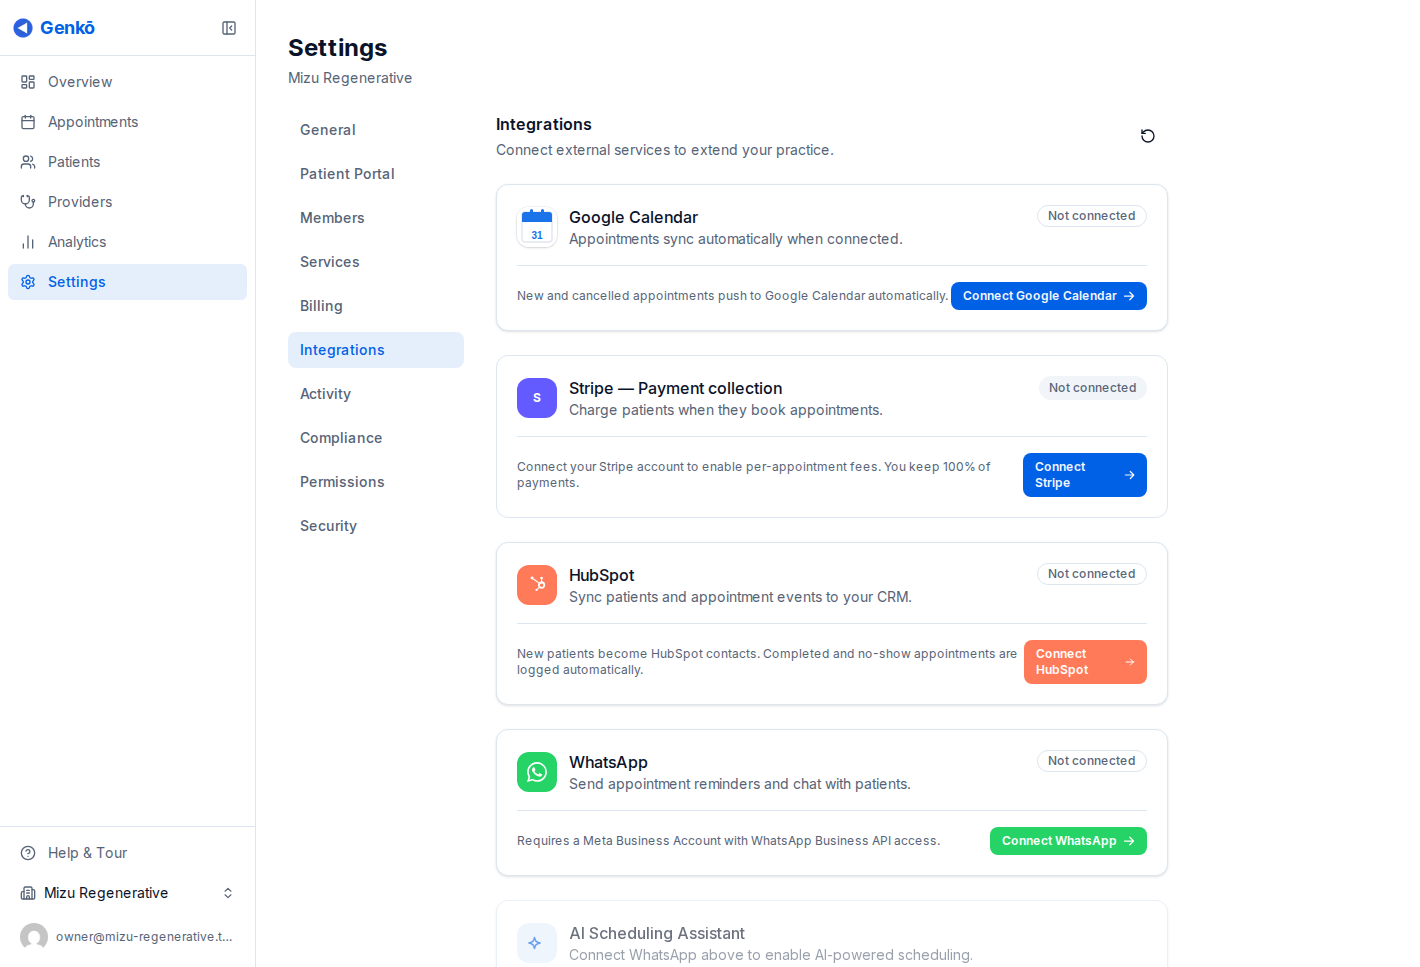
Google Calendar sync
Genkō can sync appointments to Google Calendar so providers can stay aligned across tools.
To connect:
- Go to Settings → Integrations
- Choose Connect Google Calendar
- Sign in with the Google account you want to sync
- Grant calendar permissions
- Select the destination calendar and confirm
What syncs
Once connected:
- New appointments created in Genkō appear in Google Calendar
- Rescheduled appointments update in Google Calendar
- Cancelled appointments are reflected there as well
- Provider names, patient names, and appointment notes are included in event details
Each provider can connect their own calendar, so the sync can stay personal instead of forcing a single shared calendar.
Plan access
- Patient portal is part of the core Genkō scheduling workflow
- Google Calendar sync is available on Solo plans and above
Disconnecting Google Calendar does not remove past events from Google; it simply stops future sync activity.
Best practices
- Publish the portal only after validating services and provider schedules
- Use clear service names so patients know what they are booking
- Encourage each provider to connect their own calendar if they manage their day from Google Calendar