Appointments & Scheduling
Appointments are the core workflow in Genkō. The scheduling experience is designed to keep booking fast while still protecting providers from conflicts and overbooking.
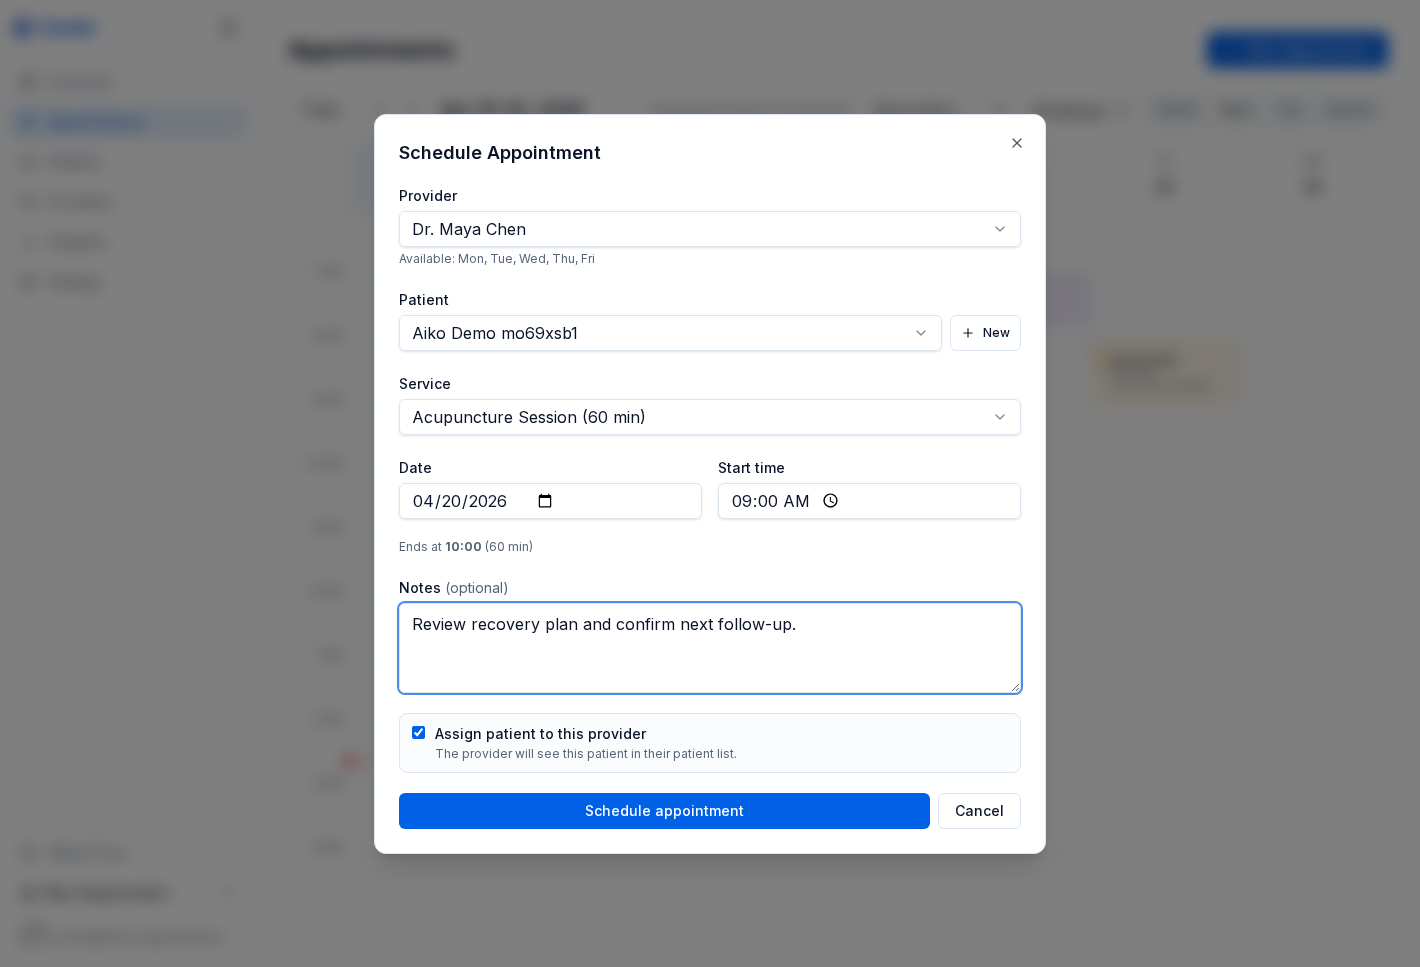
Booking an appointment
Click New Appointment from the Appointments page.
The booking flow typically includes:
- Patient - search by name or email, or add the patient inline if they do not exist yet
- Provider - choose from providers who are available for the selected date and time
- Service - select the appointment type that sets the default duration
- Date and time - book into an available slot
- Notes - optional internal notes for your team
When email notifications are enabled, appointment confirmations are sent automatically after the booking is saved.
Calendar views
Use the controls at the top of Appointments to switch between:
- Day view for detailed time-by-time scheduling
- Week view for the best balance of detail and planning
- Month view for long-range visibility
You can also filter by provider so staff can focus on one clinician or view the full practice schedule together.
Conflict detection
Genkō prevents double-booking in real time.
- If a provider is already booked, the conflicting slot will not save.
- Conflict checks run on the server, so simultaneous booking attempts from multiple staff members are still protected.
- Unavailable times are grayed out before you save, which helps prevent mistakes early.
On Practice plans and above, buffer minutes can add a built-in gap between appointments.
Appointment statuses
Appointments move through a simple operational lifecycle:
| Status | Meaning |
|---|---|
| Scheduled | The booking is confirmed and appears on the calendar |
| Completed | The visit took place successfully |
| Cancelled | The appointment was cancelled and the slot is available again |
| No-show | The patient did not attend |
Staff, providers, and admins can update appointment statuses from the detail view. Only owners and admins can delete appointments.
Why status tracking matters
Keeping statuses accurate improves:
- Provider productivity reporting
- No-show analysis
- Calendar accuracy for rebooking
- Patient communication and follow-up
If you notice rising no-show rates, combine this page with reminder workflows and portal configuration.
Recommended workflow
- Add or confirm the patient record
- Choose the correct service
- Book with the right provider and time
- Update status after the visit
- Review no-shows and cancellations in analytics