Providers & Team Members
Genkō separates provider setup from general team access so you can manage clinical schedules and operational permissions cleanly.
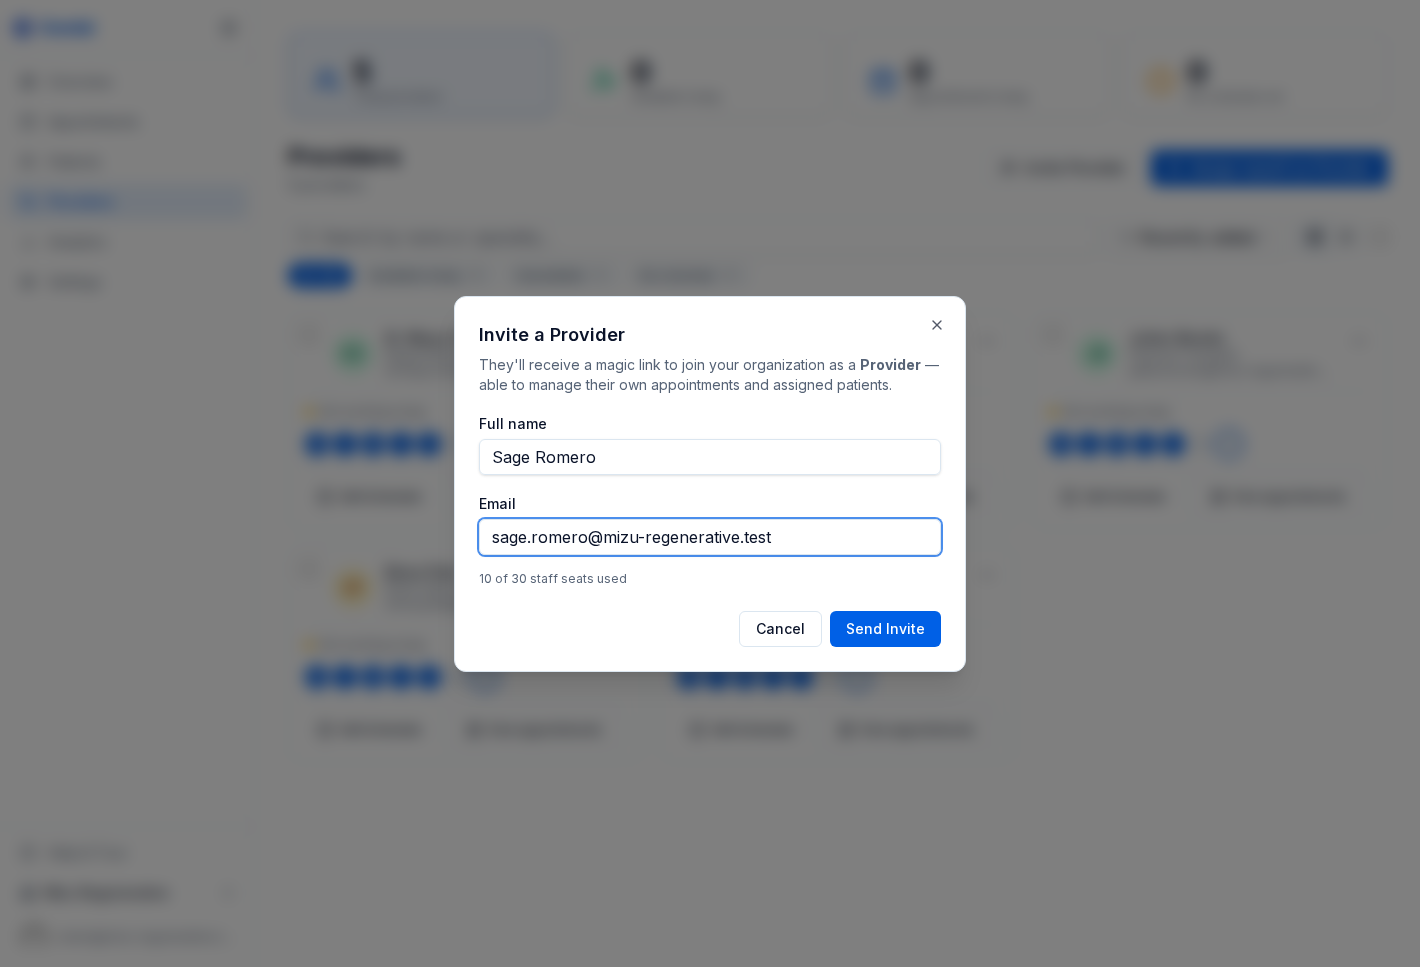
Adding providers
You can add providers in two common ways:
- Invite Provider when you are onboarding a clinician to the workspace
- Assign yourself as Provider when the owner also sees patients directly
Once invited, providers appear in scheduling views after their profile and availability are configured.
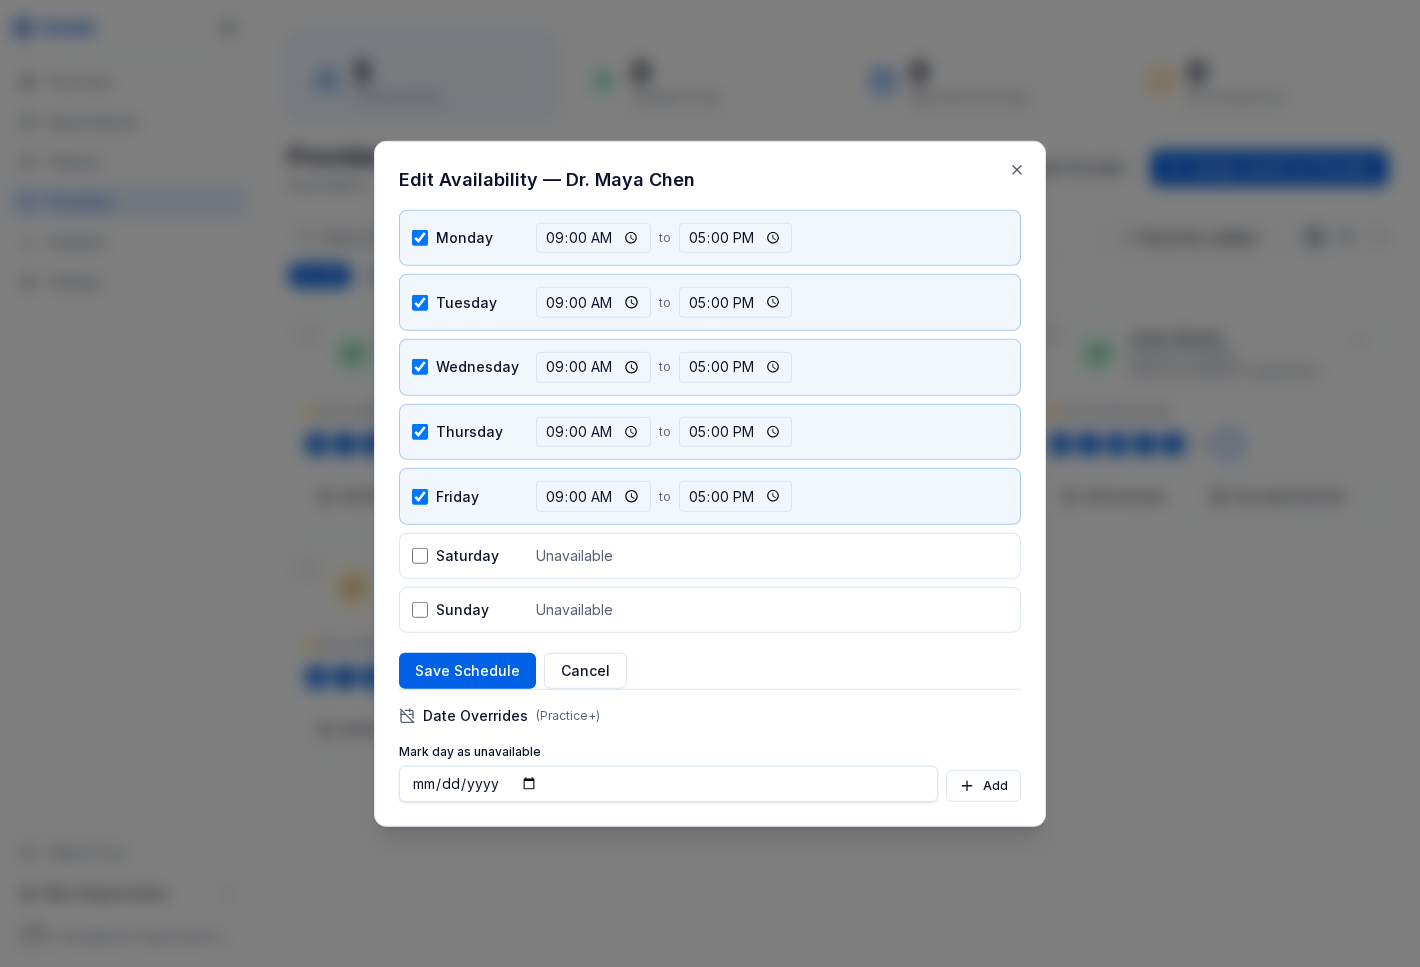
Setting provider availability
Open a provider card and choose Edit Schedule to define their weekly availability.
For each day, you can set:
- Whether the provider is available
- Start and end time
- A simple weekly working pattern such as Monday to Friday, 9 AM to 5 PM
Genkō uses this schedule everywhere bookings are created:
- Staff scheduling
- Provider views
- Patient self-booking in the portal
If a provider is unavailable on a given day, that day simply does not appear as bookable.
Advanced scheduling rules
On Practice plans and above, you can add tighter provider rules such as:
- Buffer minutes between visits
- Maximum appointments per day
- Booking windows that limit how far ahead patients can book
- Day-of-week restrictions for portal booking
Start simple and add these only when they solve a real operational problem.
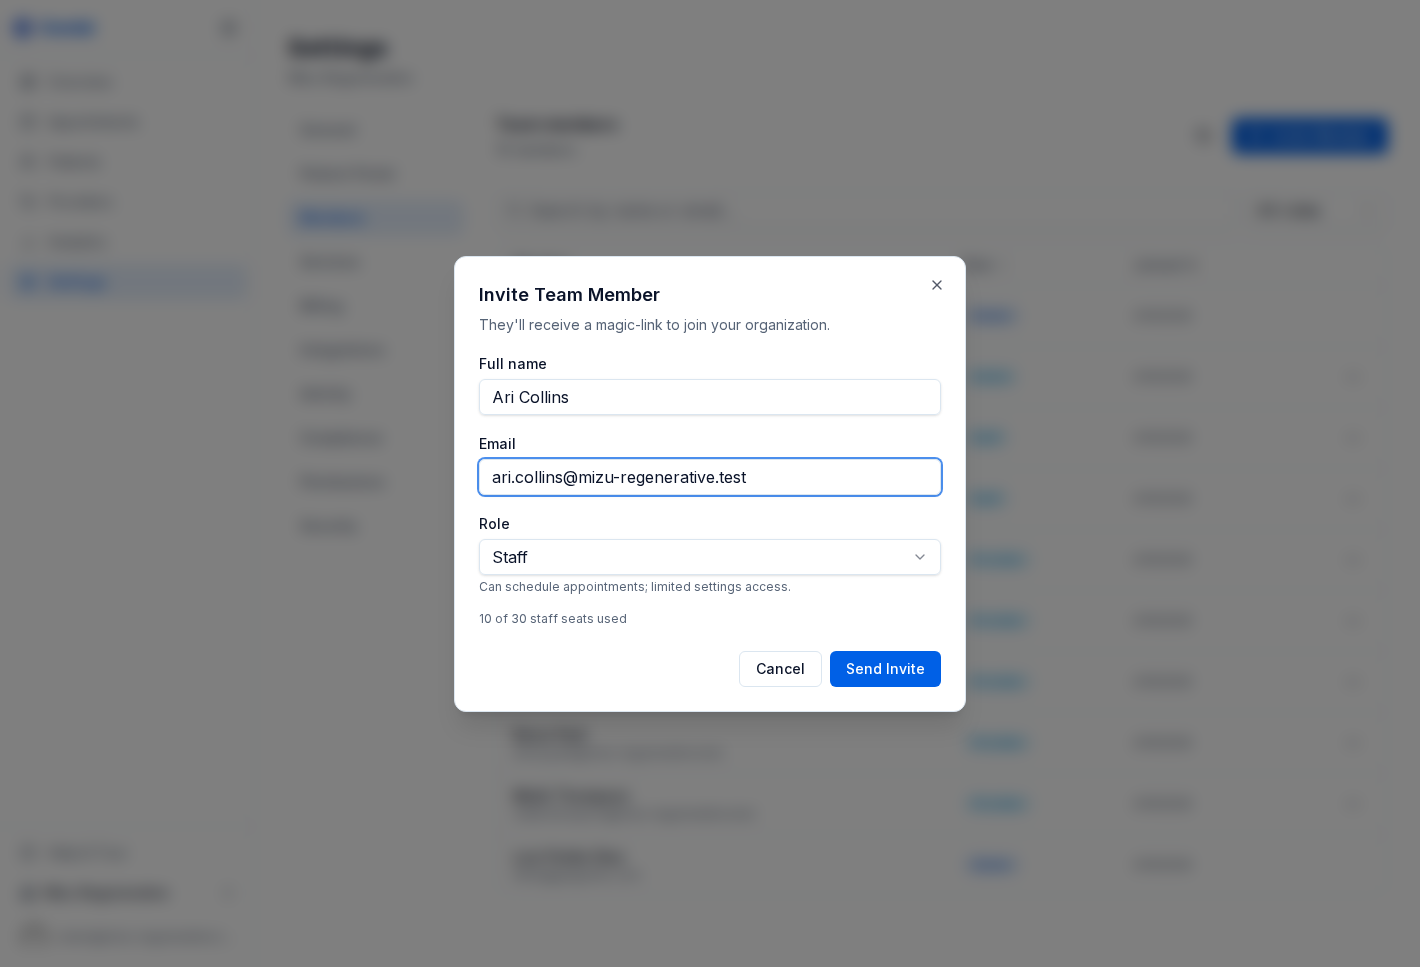
Inviting team members
Go to Settings → Members and click Invite Member.
Each invitation includes:
- Full name
- Email address
- Role
Genkō sends a magic-link invitation by email. Pending invites can be reviewed or revoked from the Members page, and invitations expire after 72 hours.
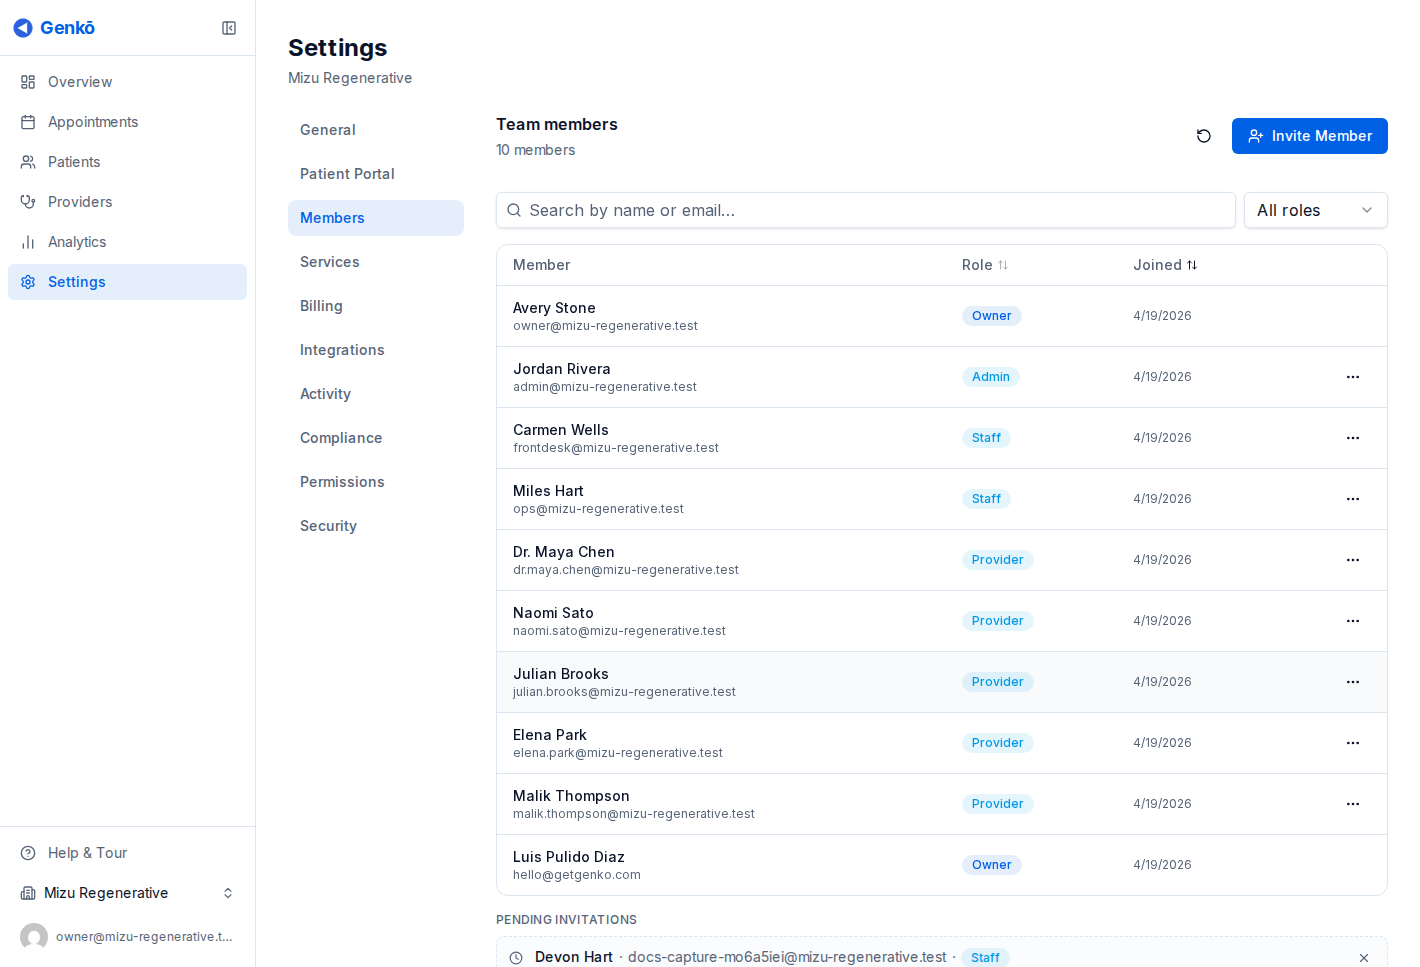
Roles and permissions
Genkō uses four main roles:
| Role | Typical use |
|---|---|
| Owner | Full organizational control, including billing and ownership transfer |
| Admin | Practice managers who need broad operational access |
| Provider | Clinicians who manage appointments and view patient records |
| Staff | Scheduling and administrative support without settings or billing control |
Owners and admins can change roles or remove members at any time from the Members page.
Team limits
Plan limits apply to team members excluding the owner. Check your current usage in billing before inviting a large group at once.
Best practices
- Add providers before enabling self-booking.
- Invite team members with the lowest role they need.
- Use specialties and bios when patients or staff need help choosing the right clinician.