Patients
The Patients area stores the records your team needs for scheduling, communication, and appointment history. Keep patient records clean and lightweight at first, then add more detail as your workflow matures.
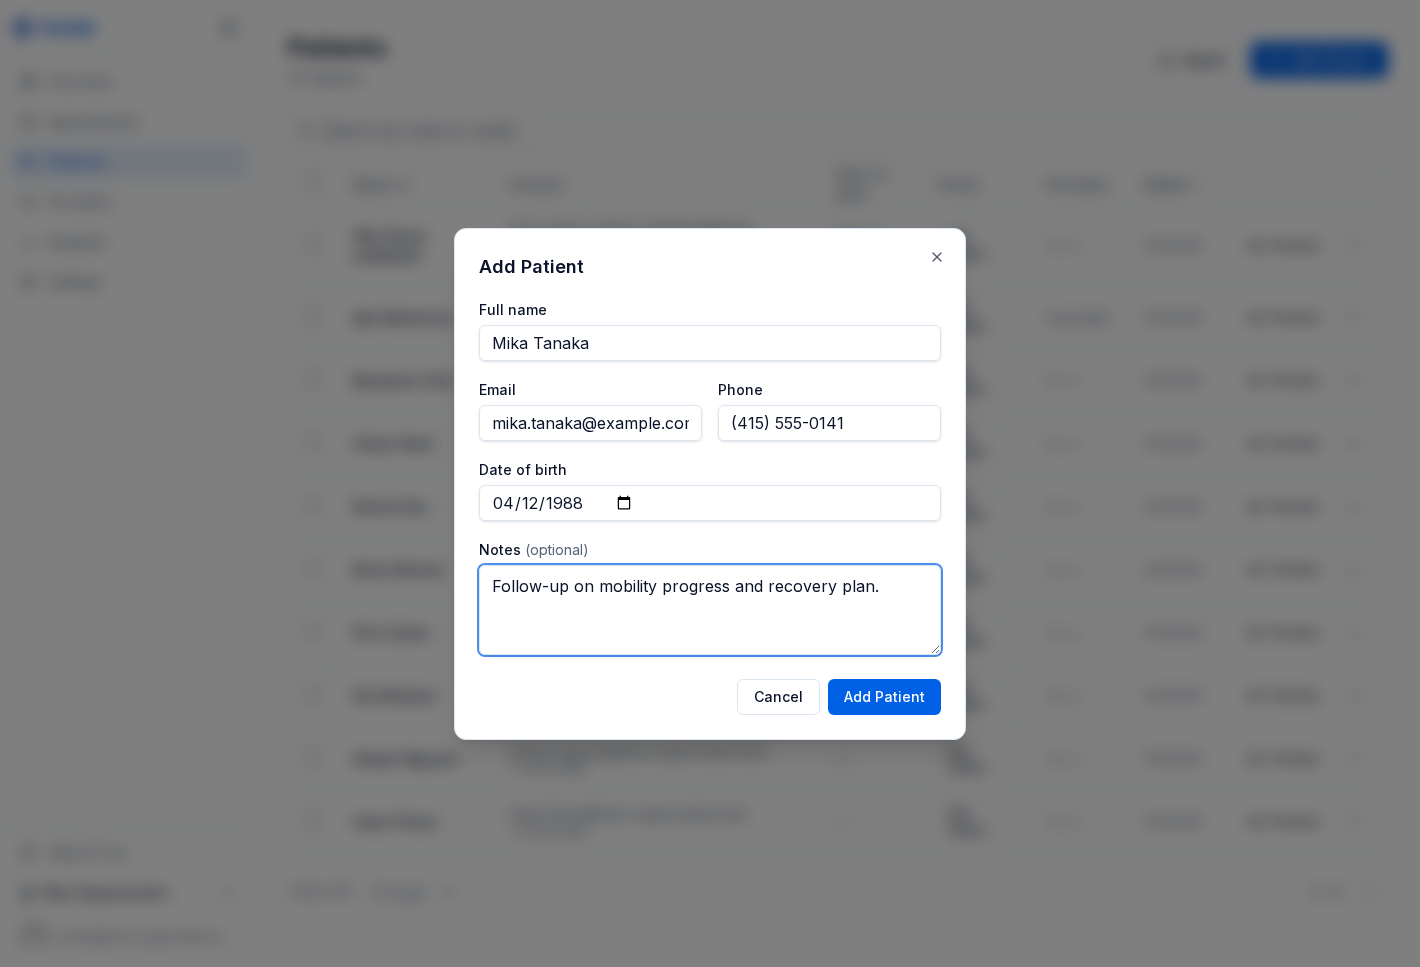
Adding patients
Open Patients in the sidebar and click Add Patient.
The most common fields are:
- Full name - required
- Email - recommended for confirmations and reminders
- Phone - useful for follow-up and manual outreach
- Date of birth - optional clinical context
- Notes - optional internal details such as preferences or important context
If you are migrating an existing list, use Import to upload a CSV or Excel file instead of re-entering records one by one.
Viewing patient records
Click a patient’s name to open their detail page. From there, your team can:
- Review contact details
- See upcoming and past appointments
- Add or edit internal notes
- Confirm whether the record is already linked to portal activity or recent bookings
Genkō keeps the workflow focused on operational records rather than forcing a heavy setup before the patient can be scheduled.
Permissions and privacy
By default:
- Owners and admins can edit and delete patient records
- Providers and staff can read patient records
This keeps the booking workflow fast while still protecting sensitive changes.
Importing patients
Bulk import is useful when you are moving to Genkō from another scheduling tool or spreadsheet.
Before importing:
- Normalize names and contact details
- Remove obvious duplicates
- Keep optional notes concise
After import, sample a few records to make sure names, emails, and phones look correct before inviting the rest of your team to work from the dataset.
Plan limits
Patient limits depend on your subscription:
| Plan | Patient limit |
|---|---|
| Free | 100 |
| Solo | 250 |
| Starter | 500 |
| Group | 1,000 |
| Practice | 5,000 |
| Enterprise | Unlimited |
When you reach your plan limit, you will need to upgrade before adding more patients.
Best practices
- Create the patient record before booking when possible so your team has a single source of truth.
- Use notes for operational context, not long freeform case histories.
- Keep email addresses current if you rely on portal booking and reminders.